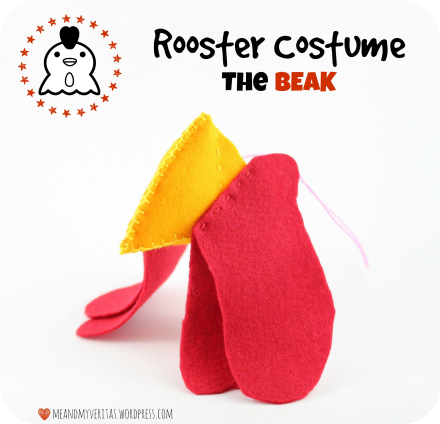
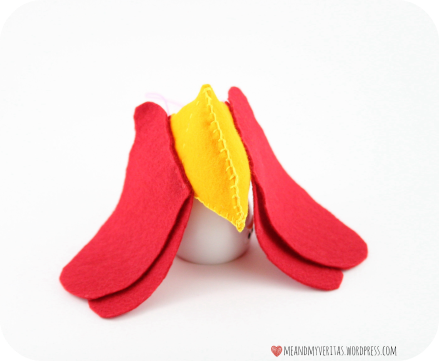
This is the second part of a very basic rooster costume consisting of a comb and a beak (with wattles). For the comb tutorial please click here. As is the case for the comb, the beak is also made from felt and comes with two wattles at each side. The nose is stuffed in order to allow for a nice picking experience… 😉 Nevertheless, there is enough room left for small (and big) noses.
Here is how I made the beak with wattles:
List of materials:
- Red and orange felt
- Pin needles (optional)
- White tailor’s chalk or magic marker
- Yellow and red embroidery thread and embroidery needle
- Hole puncher (optional)
- Elastics
- Standard scissors
- Stuffing material
- This Beak with Wattles Pattern
I can highly recommend the following items (please note that the links below are affiliate links):
Directions:
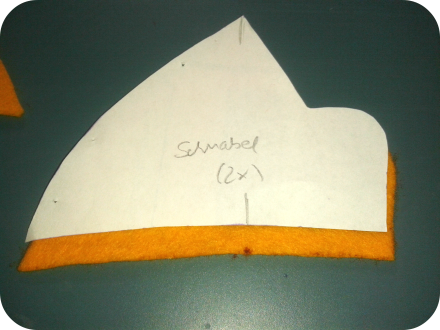
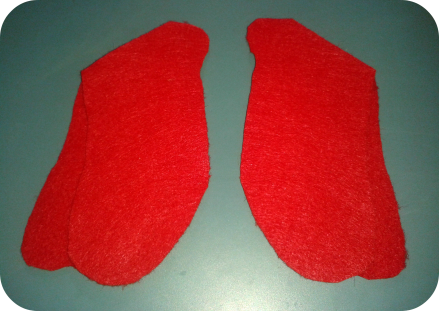
STEP 1: Print and cut the wattles patterns and transfer them onto red felt using white tailor’s chalk or a magic marker. If your felt piece is big enough, you can fold it into halves (secure with pin needles). Cut the felt and you will have four wattle pieces (they lay by twos in the picture below). Similarly, print and cut the beak patterns. Transfer them onto orange felt and cut them. You will end up with two identical pieces for the sides, a triangle for the back, and a cone-shaped piece (just ignore the big triangle in the pic below; it’s supposed to be a cone) for the bottom of the beak.
STEP 2: Lay one of the two side pieces in front of you. Imagine a line that goes straight down from the highest point of the beak to the bottom line. Mark where this line meets the bottom line using a magic marker (or chalk).
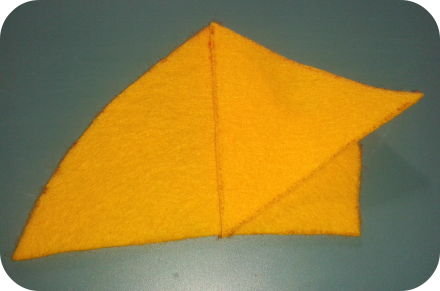
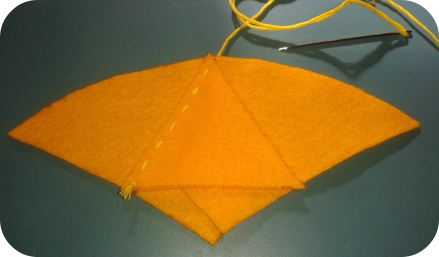
STEP 3: Take the back part (the small triangle) and align it on top of the side piece along the imaginary line from step 2 as shown below.
STEP 4: Sew the back piece onto the side piece (again, along the imaginary line from step 2). I used yellow embroidery thread and an embroidery needle. The stitch was a simple but even running stitch. Do not cut the thread but take the second side piece and lay it in between the first side piece and the back piece as shown in the picture. The beak tips of the side pieces are supposed to show into opposite directions.
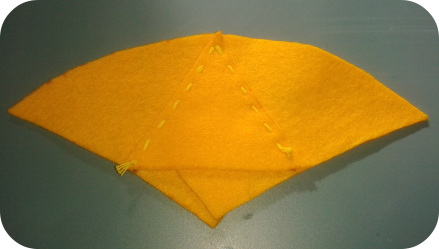
STEP 5: Start to sew the back onto the second side piece. Be careful at the beginning. It is best to stitch in on the first side piece but out on the second side piece. The pictures below shows a back view for clarity.

If you look at this first stitch from the front, it should now look like this.
STEP 6: Finish sewing. At this point the back piece will be attached on two sides of the triangle to the first and second side pieces.
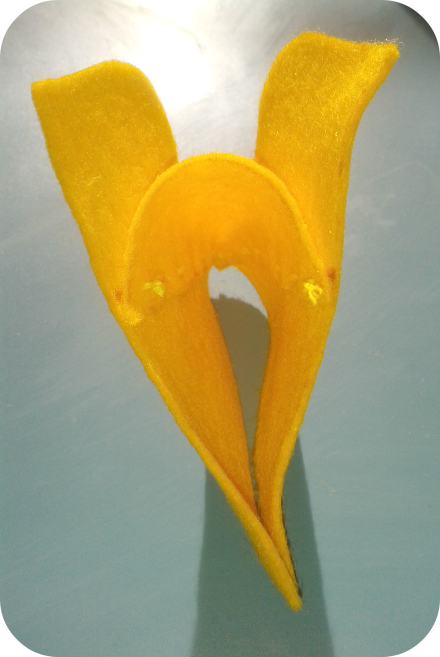
If you fold the right side over to the left, it will look like this. Horray! It already resembles a beak, right?
This is the bottom view:
STEP 7: Take the bottom piece and put it on top of the assemble from step 6 when viewed from the bottom. The cone-shaped piece should nicely fit onto it. (Here you can see, why I changed my original bottom piece design–the one with the big triangle–to a cone… 😉 )
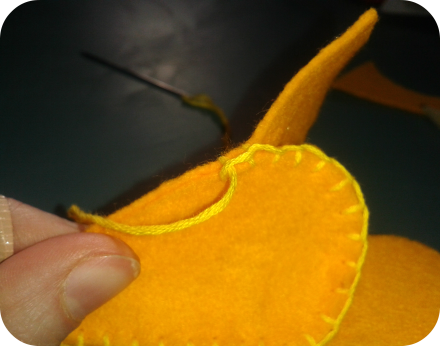
Sew it on using a blanket stitch (again, I used yellow embroidery thread and an embroidery needle). When you approach the flap of the first side piece, make sure to NOT sew the flap on. Hold it up with a finger and stitch your needle in before and out after the flap as can be seen below.
Almost done now. Be careful again when approaching the second flap.
Finally done with the bottom part. 🙂
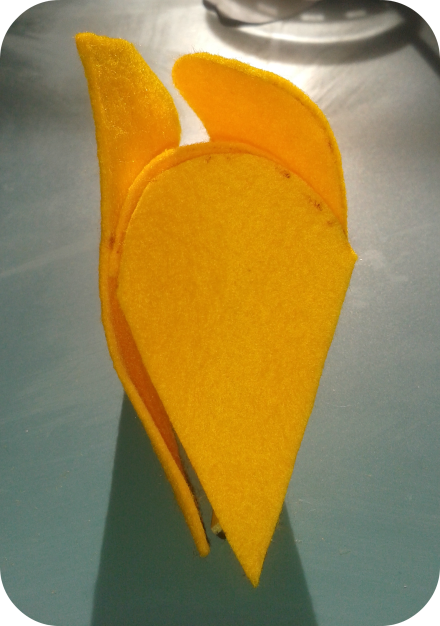
This is how the beak will look from the back right now. As I said earlier, there is plenty of space left for small (and big) noses… 😉
Here a view from the top.
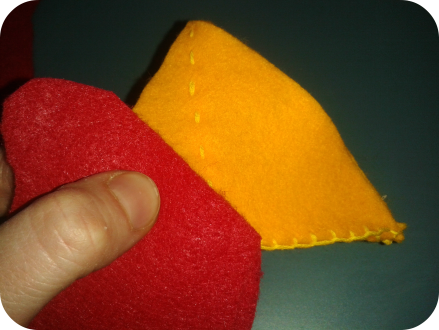
STEP 8: Grab your wattles pieces. Each of the two combos consists of two wattles: one upper and one lower wattle. Align the upper wattles on top of the lower wattles. Make sure both combos mirror each other.
Take one combo and align it with one side flap of the beak as shown below.
Stitch it on using a simple running stitch. This time I used red embroidery thread. It is best to start from the bottom right corner.
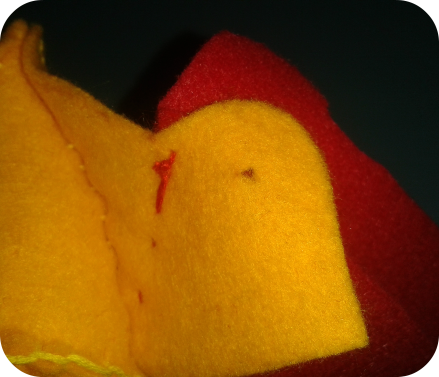
View from the inside of the flap…
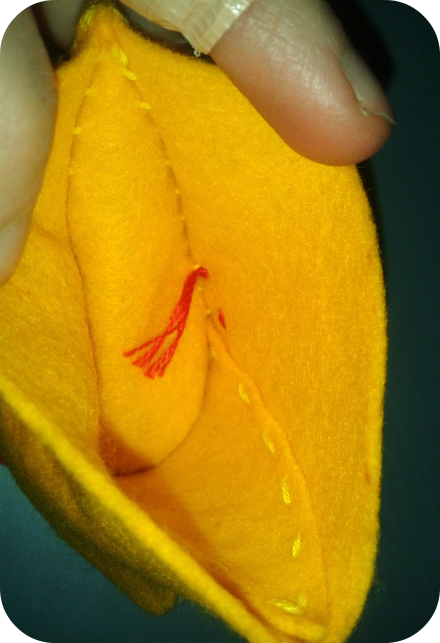
…and from the inside of the beak. The knot indicates where I started sewing.
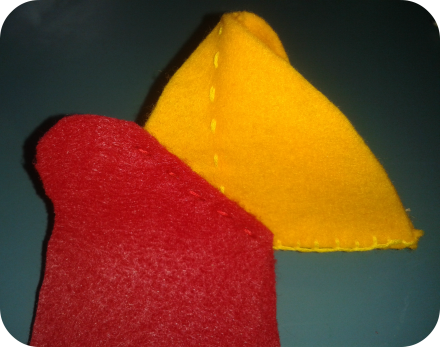
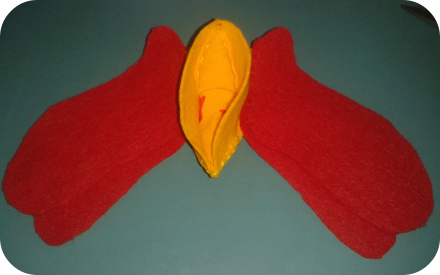
STEP 9: Repeat with the second combo of wattles and sew them onto the other side of the beak. Then, your assembly will look this way:
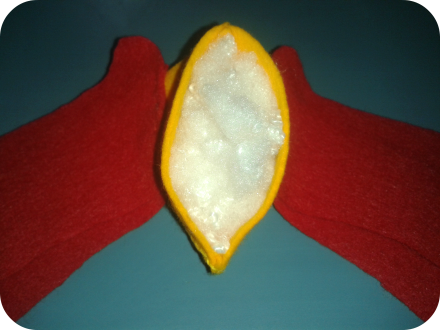
STEP 10: Now it’s time to stuff the beak.
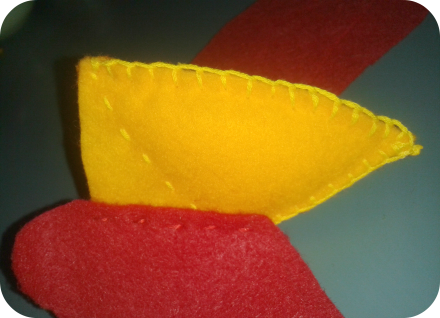
STEP 11: Sew both sides of the beak together thereby closing it. I used a blanket stitch again. Top view:
Side view:
STEP 12: Turn the beak around and locate the orange flap next to the wattles. Make a hole as indicated in the picture below (just the orange flap!). Either use a hole puncher (as I did with the comb of the rooster) or embroidery scissors. Do not make the hole too close to either edge. Repeat on the other orange flap on the other side of the beak.
STEP 13: Hold the beak onto your child and determine a suitable length for the elastic. Attach the latter using the holes from step 11. Make tight knots and cut off the overhangs. Luckily, the wattles will hide the inner orange flaps and nobody will see where the elastic is attached to the beak. I’m really proud of this design and hope you will love it, too. 🙂
And tada: You are done! 🙂 Hope you enjoyed the tutorial and good luck with your beak and/or comb creation(s). If you like what you see and have not followed this blog yet or liked Me & My Veritas on Facebook, please do it right away. I highly appreciate your support!
Please click here and leave a comment… Ich freue mich auch sehr über Kommentare auf Deutsch. 🙂
I am linking this to Kiddikram, fuersoehneundkerle, Made4Boys, Threading My Way, and Talented Tuesday.











Do we get to see you modelling it at some point? 😛
LikeLiked by 1 person
I can’t wait to see the whole outfit with all the components. Looks so fun!
LikeLiked by 1 person
And again, your intructions are amazing. Well done.
LikeLiked by 1 person
Hahaha! I have to negotiate with my son… 😉
LikeLike
Thank you so much! 🙂
LikeLike
Oops, it’s just comb and beak so far. 😉 But honestly I am already thinking about a full costume… 😉
LikeLiked by 1 person
So cute!!
LikeLiked by 1 person
Thank you! I am glad you like it! 🙂
LikeLiked by 1 person
Oh, so sweet ! My son would love it 🙂
LikeLiked by 1 person
Thank you so much! It’s super easy to do. Our sons could run around as twin roosters… Hahaha 😉
LikeLike
Pingback: Your Makes — My New Reader’s Gallery | Me & My Veritas
I wonder if I could get my daughter in something like this next Halloween. So cool.
LikeLiked by 1 person
Reblogged this on and commented:
Excellent Step by Step Instructions. Thanks for sharing. Could make for a great rainy day Spring project with our 4 year old!
LikeLiked by 1 person
Hahaha. She will be a super “scary” hen/rooster. 😉 Best to you and thank you very much for stopping by, Jana
LikeLike
Thank you so much for reflagging this. I highly appreciate it. In case you are going to try this tutorial, I would LOVE to see how it turned out. Best to you, Jana
LikeLike
I bet your son is having fun with this outfit, Jana!!! Great job.
LikeLiked by 1 person
Thank you very much again! I highly appreciate it.
LikeLike
Pingback: Rooster Costume: The Comb | Me & My Veritas