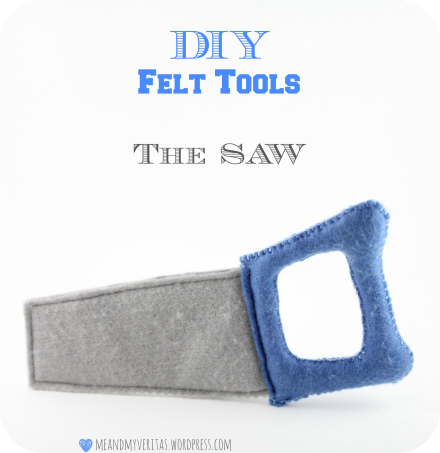
Welcome to the very first post of my super new DIY toy series. *drum roll* Ladies and Gentleman, I am more than excited and proud to introduce the DIY Felt Tools—a series of 6 very cute felt toys. This series is going to cover the following: a saw, a screwdriver, a hammer, a wrench, a carpenter square, and a tool belt.
It was last Halloween, when my son wanted to dress as a construction worker. And, of course, a proper construction worker needs proper equipment. Thus, my better half, my parents (who used to be in Canada at that time), and me were sewing and crafting together the nights before Halloween. On Halloween evening, my son was for sure the scariest construction worker in the neighbourhood… (ok, honestly he was not scary at all but rather super cute; but don’t tell him…). It was the very first Halloween he took part in, and when he got sweets from a neighbour, he literally couldn’t believe that it was so easy to get something that Mommy and Daddy usually regulate strictly. So every time he came to me and said: “Mommy, I got something! I got something!” smiling like crazy. This I will never forget. 🙂
But let’s start with the saw.
List of the materials:
- Felt (blue and grey)
- This Saw Pattern
- Pinning needles
- Standard scissors
- Embroidery needle and embroidery floss (blue)
- Filling/stuffing material
- Shashlik skewer or pencil
- Pinking scissors
- Piece of cardboard
- Sewing machine( or alternatively standard needle and grey thread)
STEP 1: Cut the patterns for blade and handle.
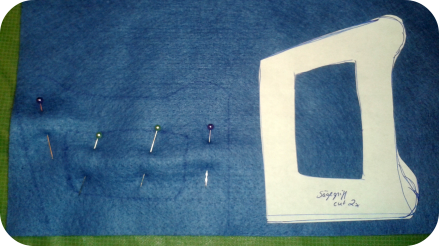
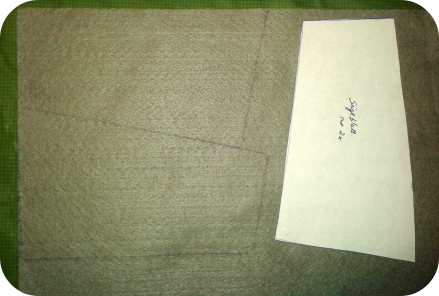
STEP 2: Transfer the handle pattern onto blue felt using white tailor’s chalk or a magic marker and cut the felt. Similarly, transfer the blade pattern onto grey felt and cut it. You will need two pieces of each part. Basically, you can either pin two pieces of felt together and cut both simultaneously (see upper picture) or trace (and cut) the pattern two times (see bottom picture).
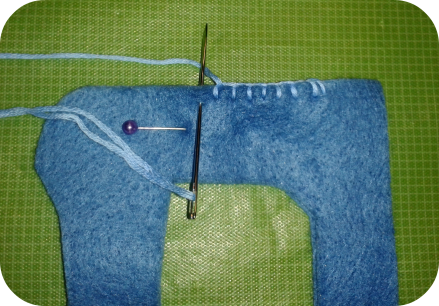
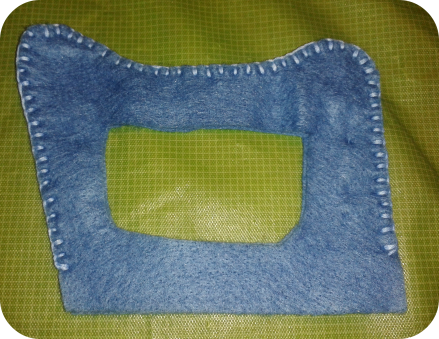
STEP 3: Start sewing the handle together with a blanket stitch. I used an embroidery needle with dark blue embroidery thread.
This is how the handle should look like at this point…
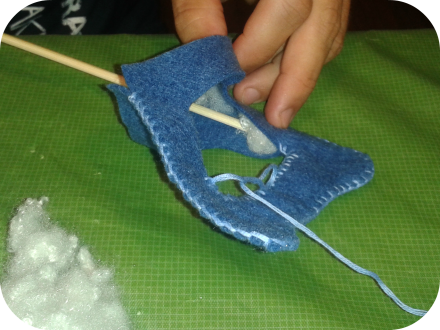
STEP 4: Stitch the upper part of the handle close and start to stuff it using filling material (e.g., the inner life of an old or unused pillow). The ends of a shashlik skewer or pencil can help to fill the material through the small openings. Stuff until this part of the handle is quite tight.
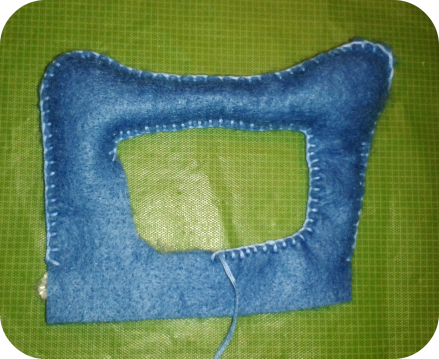
STEP 5: When the upper part is fully stuffed, continue stitching along the inner edge of the handle. Now stuff the sides, too.
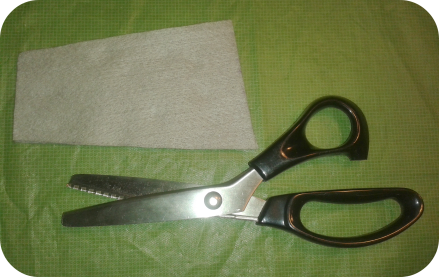
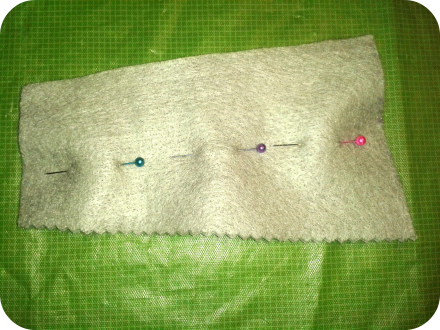
STEP 6: Take the blade pieces from step 2 and grab your pinking scissors. Align both blade felt pieces on top of each other as shown in the picture below and…
cut along the bottom line using your pinking scissors. Try to cut as close as possible to the edge.
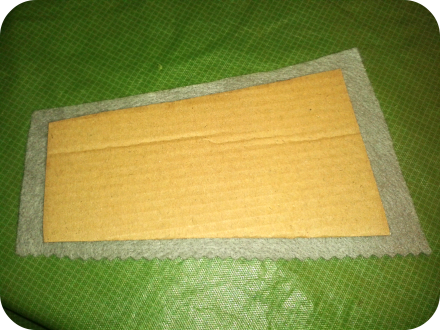
STEP 7: Cut a piece of cardboard into the shape of the blade but slightly smaller.
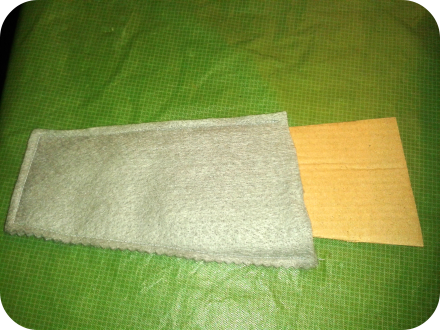
STEP 8: Set the cardboard aside for a moment. Place both blade felt pieces on top of each other and sew around them using a sewing machine threaded with grey thread. Optionally, you can sew this step by hand using a straight or running stitch. Next, insert the piece of cardboard for stability of the final blade.
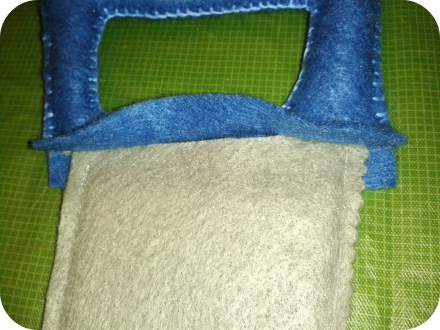
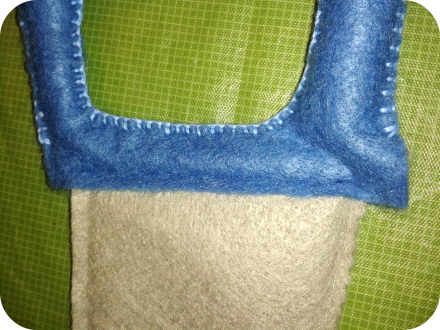
STEP 9: Insert the blade assembly into the handle piece as shown in the picture below.
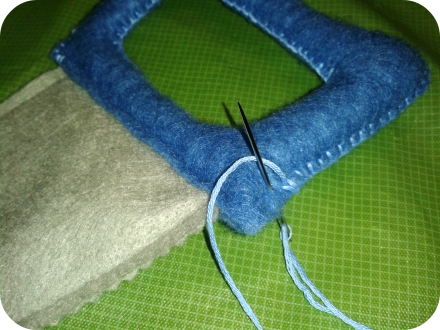
STEP 10: Sew the handle onto the blade using blue thread and a standard sewing machine. Through the holes at the left and right fill the lower part of the handle with filling material.
STEP 11: Last but not least, sew the sides of the blade closed as described in step 3.
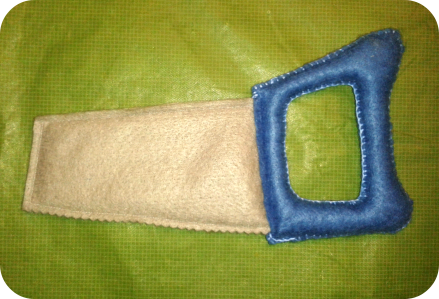
And that’s it! You are done. It is cute, is it not? 🙂
Hope you enjoyed the tutorial and good luck with your felt saw creation. Please stop by again soon in order to learn how to make the other felt toys.
If you like what you see on this site and have not followed this blog yet or liked Me & My Veritas on Facebook, please do it right away. Your support is highly appreciated!
I’m linking this to Le Challenge.
Please click here and leave a comment… Ich freue mich auch sehr über Kommentare auf Deutsch. 🙂

A new series! Looks fun and hope your son is having hours and hours of play with them!
LikeLiked by 1 person
Thank you so much! I took the pictures recently. So you can actually see how much he played with it already… 😉 Just wait for the hammer. This one suffered so much… 😉 Have a lovely Sunday evening and a great week
LikeLiked by 1 person
Well this is something I’ve never seen before! So cute!
LikeLiked by 1 person
That is such a great idea! Very cute too.
LikeLiked by 1 person
Thank you so much, Beth! I am glad you like it. 🙂
LikeLiked by 1 person
Thank you so much for your kind comment! 🙂 Just wait for the other tools.. 😉 Have a great day.
LikeLike
You should be proud! What a clever DIY. Can’t wait to see the others in this series. Bravo Jana~Cheers
LikeLiked by 1 person
Aww. I am smiling like crazy at the moment as a result of your super sweet comment! Thank you so much! 🙂 Hugs to you
LikeLiked by 1 person
Such a clever idea. Looking forward to the next installment!
LikeLiked by 1 person
Thank you so much, Kate! 🙂
LikeLike
This is sooo cute!!!
LikeLiked by 1 person
Thank you so much! I am really glad that you like it! 🙂
LikeLiked by 1 person
Reblogged this on and commented:
I came, I saw, I sewed!
LikeLiked by 1 person
Hahaha. 🙂 That’s wonderful and made my day! Sometimes I can’t believe that people like what I make. Thanks, thanks, thanks!
LikeLike
What a lovely saw, can’t wait to see all the other tools!
I really enjoyed reading about your son’s halloween adventure! I used to get a lot of children arriving at my door, I used to dress up too it was great fun.
LikeLiked by 1 person
Thank you so much for your kind comment! You gave me a very good idea. Probably I should dress this year, too. Matching outfits? As what/whom did you dress up? Have a lovely day, Jana
LikeLiked by 1 person
Pingback: Giveaway: 10 Cell Phone Sewing Kits — Enter to win! | Me & My Veritas
Super cute, fun idea! Thanks for linking to le challenge 🙂
LikeLiked by 1 person
Thank you, Lucy, for your kind words. I’m glad you stopped by at my site. Your next theme is actually very very challenging… 🙂 Have a lovely day!
LikeLike
Pingback: Felt tools: The Screwdriver | Me & My Veritas